Data backup is one of the most neglected tasks for personal computer users. I always ask the customer, before beginning any work, if they have backed up their data. The answer most of the time is “No.”
Can you afford to lose documents, family pictures, videos of family trips, and your favorite music? Oh, and don’t forget your email accounts if you are using Outlook or Windows Live Mail. If it is important to you, then you need to do a data backup.
By definition, a backup is a process of copying personal data files, such as documents, music, pictures, and videos and storing that data outside of your computer for safekeeping.
If you experience operating system corruption, data loss, or hard drive failure, then you will be in an excellent place to recover your precious data.
A good rule to follow is that any valuable personal data should reside in two or more locations at any given time.
It is also advisable to consider having a data backup stored off-site. Programs like Dropbox and OneDrive fit this category.
Hard drive failure is a significant contributor to data loss. We have to be realistic; hard drives do not last forever. With this in mind, you can put together a backup and recovery plan that will work for you.
The best place to save your data is on an external storage drive. A one Terabyte external drive is adequate. Depending on the amount of data that needs to be backed up, a USB flash drive will also work.
I would opt for the external hard drive because it gives you the flexibility of storing a system image which can take a lot of storage.
So what I am proposing is to back up your data and create a system image of your drive.
Data backup and creating a system image is not complicated to do, and you can have peace of mind knowing that if anything goes wrong, you will have access to your data.
Data Backup the Easy Way
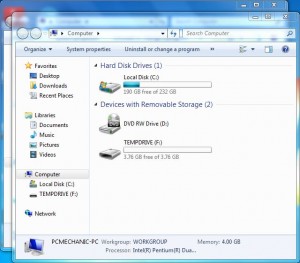
Let’s begin. Attach your external hard drive or USB at this time.
A quick and easy way to back up your data in Windows 7 is to back up your user account folder. The user account folder can be found in your C:\Users directory.
To start, we need to bring up two Windows Explorer windows.
Press the Windows key + E key twice.
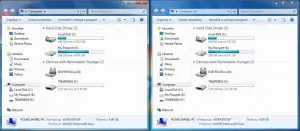
Two Windows Explorer windows will now open up in maximized view. One of the windows is hiding behind the other.
Right-click on your taskbar and click on “Show windows side by side.”
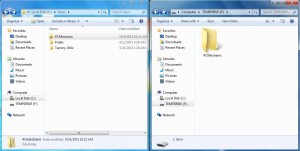
The two Windows Explorer windows will show up side by side.
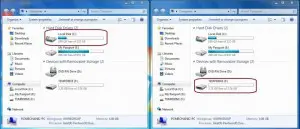
Double click on the C: drive on the left Window to open it. Double click on your backup drive on the right window to open it as well.
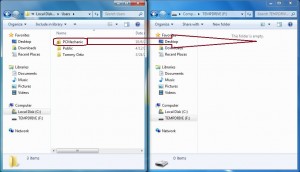
Locate your user account. Left-click the folder, drag it over to your backup drive and release the left click.
(Alternatively, you can right-click on your user account and click Copy. Right-click on your backup drive and click Paste.)
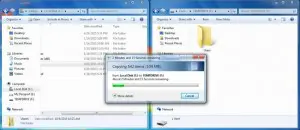
Your user account will now be copied over to your backup drive.
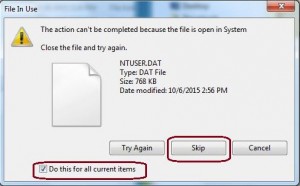
During the backup process, you might see a file in use warning pop up. Put a checkmark in the box “Do this for all current items” and click the Skip button.
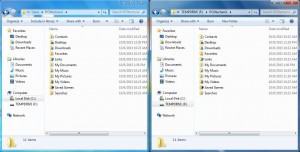
Your user account has been backed up.
All the files are now in your backup folder. Don’t forget to back up your email account if you are using Outlook or Windows Live Mail.
Use System Image As Part of Your Data Backup Program
Earlier I mentioned about creating a system image as part of your data recovery plan. What I like about creating a system image is that it can restore the contents of your drive.
If Windows no longer functions or you experience a hard drive crash, then you can use a system image to bring back not only your data but also all your programs and settings.
It is better to restore a system image than have to reinstall Windows. The long process of updating and installing all the programs can take a bit of time.
I put together a tutorial on How to Create a System Image Backup in Windows 7 that you can follow along to create your system image.
Now you must decide how often to back up your data manually. Whether it is daily or weekly, it’s a decision best left to you. I would, at the very least, create a system image weekly.
If you want to automate this process, consider using the Windows Backup and Restore program.
If you found this tutorial helpful, let others know about it.


